You have a working APK on your phone. You open Play Console, and it refuses the file. This is not a bug: since August 2021 every new app must be published as an Android App Bundle, and an AAB is a different kind of artefact — one that cannot be installed on a device at all.
What follows is what actually changes for a converted website, and everything Play wants alongside the file.
Step 1 — Build the bundle, not the package
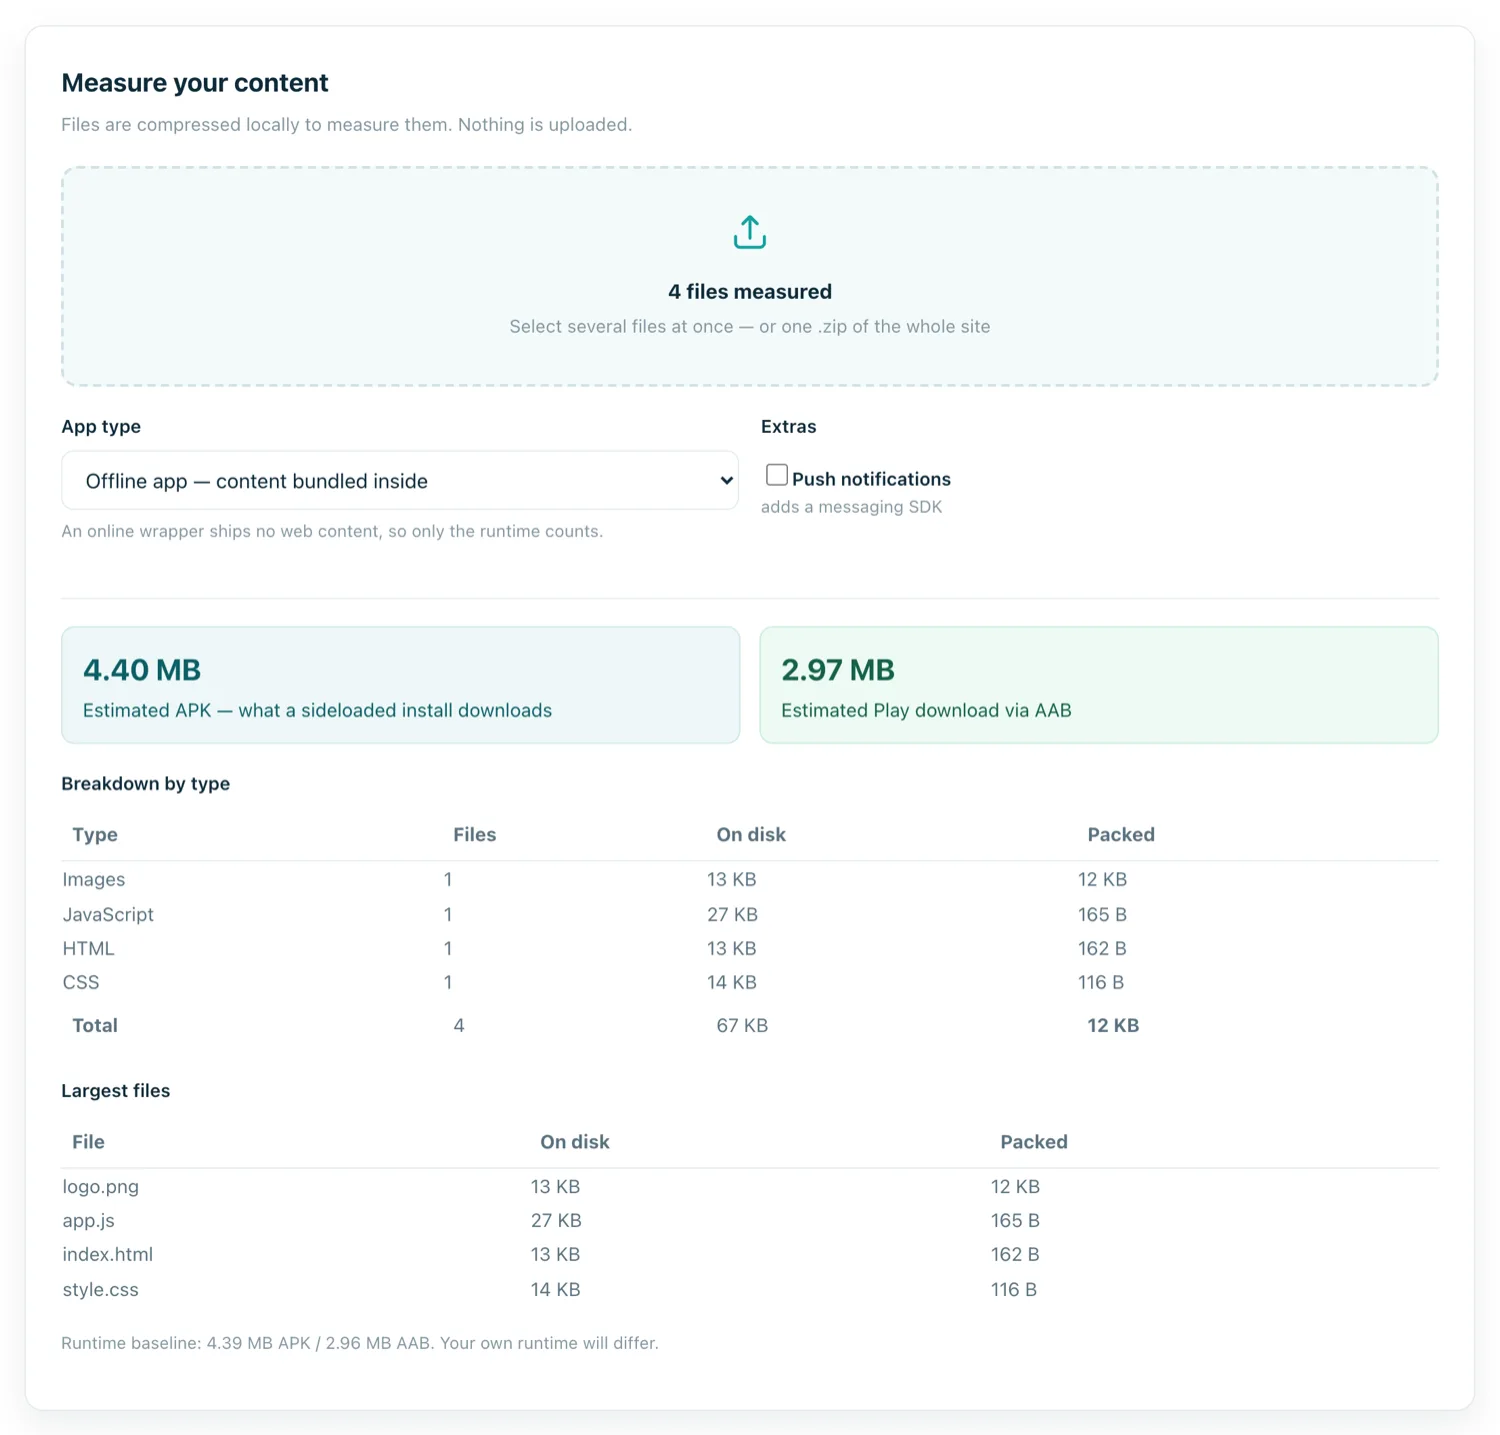
Same project, same content, different output target. Where the APK build produces one file containing every device's resources, the bundle contains all of them separately for Play to split. If you are using a build service, this is a choice of target rather than a different project. In Gradle it is bundleRelease instead of assembleRelease.
Nothing about your HTML, CSS or JavaScript changes. The bundle wraps the same content.
Step 2 — Understand what signing now means
This is the part that surprises people. With an App Bundle, Play generates and signs the APKs users install, so Play needs a key of its own.
- You sign the bundle with your upload key.
- Play verifies it, then re-signs the generated APKs with the app signing key it holds.
- If your upload key is lost, Google can reset it — unlike the old model, where a lost key permanently ended your ability to update the app.
Keep your upload key and its password backed up somewhere you will still have in three years. A password manager entry beats a file on the laptop you will replace.
Step 3 — Get the identifiers right before you upload
These are checked at upload and are painful to change afterwards — the package name being impossible to change at all.
- Package name — permanent, lowercase, reverse-domain, never
com.example. See the package name guide. - Version code — an integer higher than any you have uploaded before, including to test tracks. See version codes.
- Target SDK — Play enforces a minimum target API level for new submissions and raises it every year. A build service keeps this current; a hand-rolled project is your responsibility.
Step 4 — Assemble the store listing
The bundle is a fraction of a submission. Play also wants:
| Asset | Requirement |
|---|---|
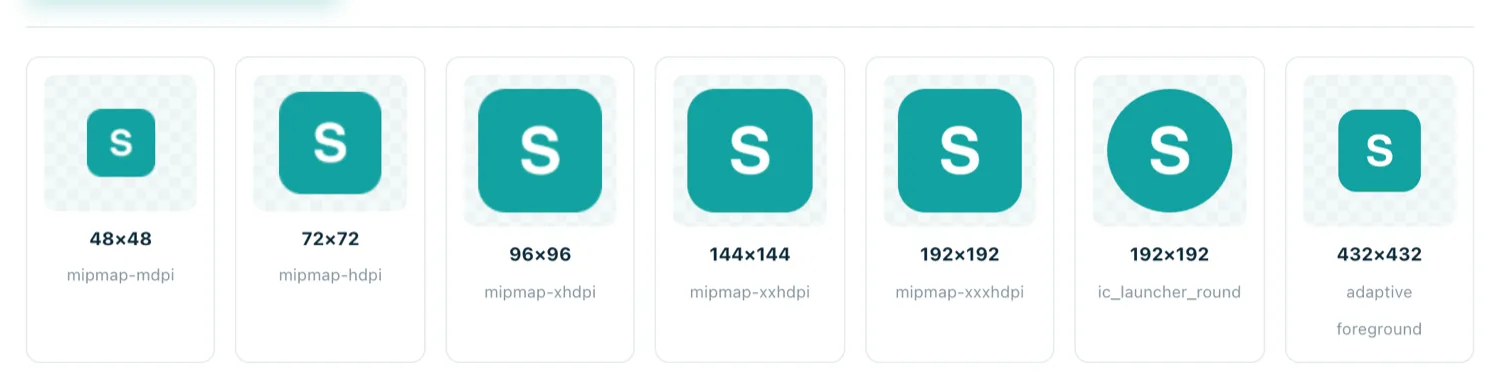
| App icon | 512 × 512 PNG, 32-bit, no transparency |
| Feature graphic | 1024 × 500, shown at the top of the listing |
| Phone screenshots | At least 2, up to 8 |
| Short description | 80 characters |
| Full description | 4,000 characters |
| Privacy policy | A real, reachable URL — required for essentially every app |
| Data safety form | Declares what you collect and share |
| Content rating | A questionnaire, answered honestly |
The requirement that actually rejects web apps
Play's policy on minimum functionality is where converted websites get turned down. An app that is nothing but a WebView pointed at a URL — no offline support, no native behaviour, nothing a browser bookmark would not do — can be rejected as a repackaged website.
What moves an app onto the right side of that line:
- Bundled content, so the app works offline.
- Push notifications that provide genuine value.
- Native navigation — tabs, a proper back stack, a splash screen.
- Device features: camera, location, file handling.
- A real app experience: no browser chrome, no visible URL bar, no "open in browser" prompts.
Also required: you must own or have rights to the content. Wrapping someone else's website is rejected, and reported.
Step 5 — Upload and wait
Create the app in Play Console, upload the AAB to a track — internal testing first, always — and complete the listing. Review for a new developer account commonly takes a few days, and first submissions from new accounts get more scrutiny.
One thing worth doing before you submit: install what Play will actually serve, not what you built. The internal test track gives you exactly that in a few minutes, and it is the only way to catch a problem introduced by the bundle splitting itself.